


At Arm Create Shanghai, Arm followed its keynote with three developer launches: the Arm AI Portal for finding and deploying Arm-optimized AI models, the Mali G2-Ultra NX GPU with Arm Neural Technology for mobile graphics, and Arm Performix for profiling workloads on Arm-based cloud servers. This guide summarizes what each one is, who it is for and where to start, based on Arm’s own announcements dated 8 September 2026. Pertech is an Arm representative in Israel, so we also point out which of the three matters for embedded and edge teams, and which does not.
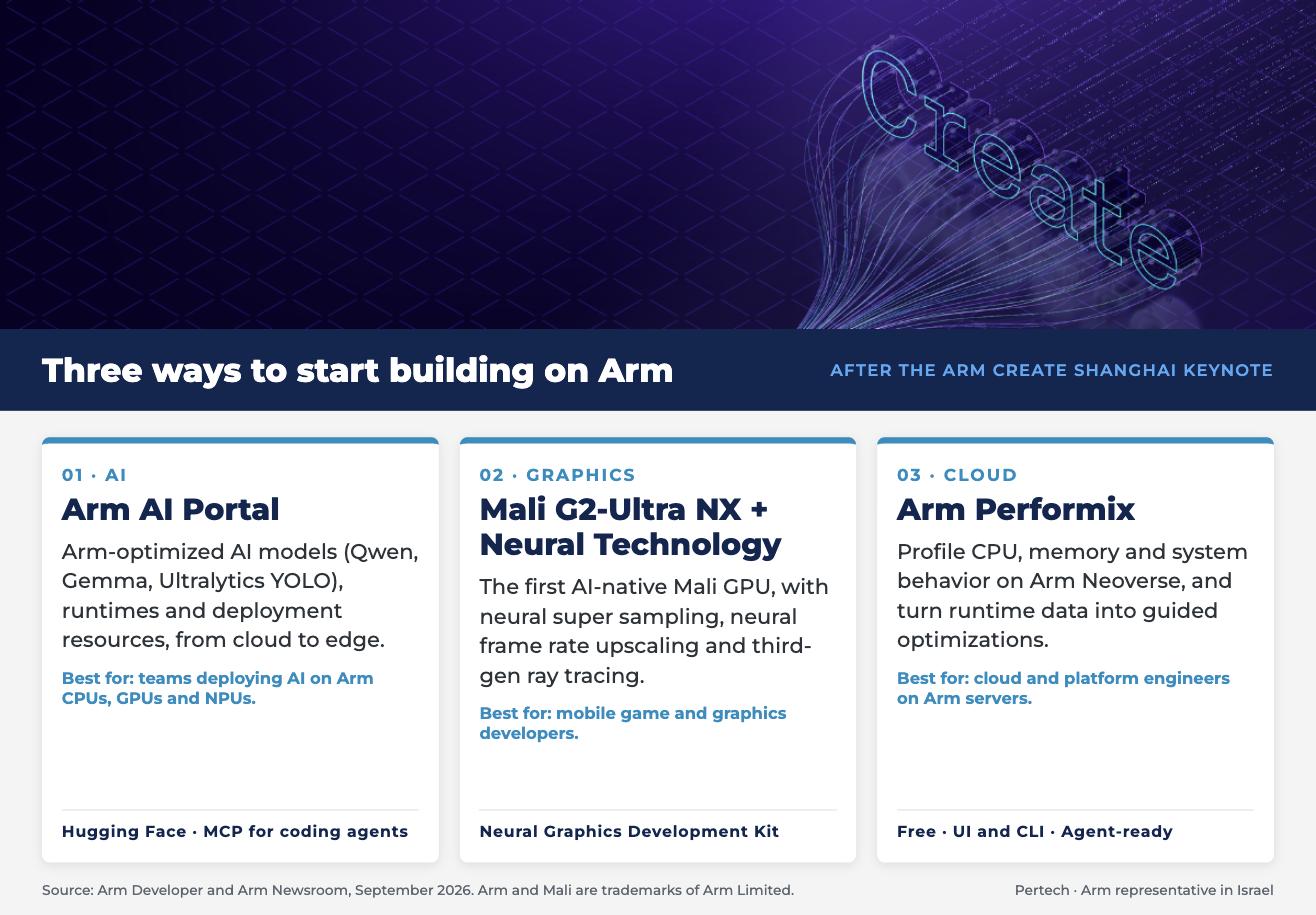
The three Arm announcements at a glance
| Announcement | What it is | Best for | Where to start |
|---|---|---|---|
| Arm AI Portal | Arm-optimized AI models, runtimes, sample code and tools, from cloud to edge | Teams deploying AI on Arm CPUs, GPUs and NPUs | developer.arm.com/ai |
| Mali G2-Ultra NX + Arm Neural Technology | The first AI-native Mali GPU, plus neural upscaling and denoising techniques | Mobile game and graphics developers | Neural Graphics Development Kit |
| Arm Performix | A performance analysis toolkit for Arm Neoverse workloads | Cloud, platform and runtime engineers | Arm Performix page |
Arm AI Portal: Arm-optimized AI models and agent-ready resources
Arm AI Portal is a single place to find, evaluate, optimize and deploy machine learning models on Arm. Arm positions it for the more than 22 million developers building on Arm, and for their AI agents. At launch it includes pre-optimized models such as Alibaba Qwen, Google Gemma and Ultralytics YOLO, with supported runtimes including ExecuTorch, LiteRT and ONNX Runtime. Arm-optimized models are also available through Hugging Face.
The portal organizes models by task, which makes it easier to shortlist options for a specific product:
- Generative AI: text generation, text-to-image and image-to-image.
- Computer vision: image classification, object detection, segmentation and depth estimation.
- Audio and NLP: automatic speech recognition.
- Neural graphics: frame rate upscaling and super sampling.
Target hardware spans cloud CPUs, mobile CPUs and GPUs, embedded NPUs and edge Linux systems, and Arm lists ecosystem partners including ExecuTorch, Raspberry Pi, Ultralytics and vivo. Arm reports that Qwen3-TTS ran more than 4x faster on a vivo X300 smartphone, and that Ultralytics YOLO26n gained more than 40% performance using optimized precision. These are Arm’s own figures, so validate them on your target device.
For teams that use AI coding assistants, the portal’s resources can also be exposed to coding agents through MCP. Arm describes this agent-ready access as early access ahead of general release. Details are in Arm’s launch announcement.
Mali G2-Ultra NX and Arm Neural Technology: desktop-class graphics on mobile
The Mali G2-Ultra NX is described by Arm as the first AI-native Mali GPU. Rather than treating AI as a separate block, it places neural accelerators inside the shader cores, so neural graphics workloads run alongside conventional graphics and compute and reuse the GPU’s memory system and caches. According to Arm’s technical blog, the GPU also brings:
- A redesigned execution engine, the largest Mali instruction set update in seven generations, with up to 2x more registers per warp.
- Third-generation ray tracing, with up to 13% lower DRAM traffic on leading ray tracing benchmarks and hardware support for Opacity Micromaps. In one Arm demo, Opacity Micromaps raised frame rates by 30% and cut the ray tracing workload by up to 70%.
- Higher baseline performance: up to 24% higher benchmark performance and 14% higher non-AI gaming performance than Mali G1-Ultra.
The software side is Arm Neural Technology: Neural Super Sampling (NSS) reconstructs higher-resolution images from lower-resolution renders, Neural Frame Rate Upscaling (NFRU) generates intermediate frames for smoother gameplay, and Neural Super Sampling and Denoising (NSSD) cleans up ray-traced scenes. Arm’s Neural Graphics Development Kit packages Unreal Engine plugins, tools, documentation, sample code, Vulkan ML extensions, pre-trained models on Hugging Face and a Neural Graphics Model Gym for training custom models. NFRU is publicly available, and an Early Access Program covers the rest ahead of release.
Arm’s performance claims come from its own testing between March and August 2026, and actual results may vary. Mali is silicon IP that chip makers build into their own SoCs, so it reaches developers through the phones and devices that adopt it.
Arm Performix: find performance bottlenecks on Arm cloud infrastructure
Arm Performix profiles running applications, collects system-level and hardware-level metrics, and turns them into guided insights. It is aimed at platform engineers, core library developers, runtime and compiler engineers, and cloud backend developers. Key capabilities listed by Arm include:
- Finding hotspots across compute and memory, with CPU microarchitecture analysis and clear visualizations.
- Detecting NUMA and heterogeneous compute interactions that hurt performance.
- CI/CD integration for performance regression testing.
- Dynamic insights through AI agent integration, compatible with the Arm MCP Server.
Performix targets Arm Neoverse-based Linux systems, including AWS Graviton, Microsoft Cobalt and Google Axion, in cloud or on-premises deployments. Arm states it is free to download and use, as a UI and CLI for Windows, macOS and Linux hosts.
Which of these matters for embedded and edge teams?
Most embedded projects will touch only one of the three directly. If you are deploying AI on embedded NPUs or edge Linux devices, the Arm AI Portal is the relevant entry point. Mobile game and graphics teams should look at Mali G2-Ultra NX and the Neural Graphics Development Kit, and teams running services on Arm servers should try Performix.
None of them replaces the tools used to bring up and debug hardware. For Cortex-M and Cortex-A firmware work, Pertech supplies and supports Arm’s embedded development tools in Israel:
- Arm Keil MDK and Arm Development Studio for building, debugging and analyzing Arm-based software. See also our guides to installing a Keil MDK user-based license and debugging Zephyr RTOS in Keil MDK.
- Arm Keil ULINK and DSTREAM-ST debug probes for on-target debug and trace.
Where to start
- Browse models and workflows on Arm AI Portal and read the launch announcement.
- Explore the Arm Neural Technology and Neural Graphics Development Kit page, and the Mali G2-Ultra NX technical blog.
- Download Arm Performix and profile a workload on an Arm Neoverse instance.
Frequently Asked Questions
What is Arm AI Portal?
Arm AI Portal is a platform from Arm that helps developers and AI agents discover, optimize and deploy AI software on Arm-based compute, from cloud to edge. It offers pre-optimized models with performance data, deployment-ready code and optimization tools, and is available at developer.arm.com/ai. Launch models include Alibaba Qwen, Google Gemma and Ultralytics YOLO, with Arm-optimized models also published on Hugging Face.
Can I use Arm AI Portal from a coding agent?
Arm says Arm AI Portal resources can be brought into coding agents through MCP (Model Context Protocol), and the Arm MCP Server lists Claude and GitHub Copilot among supported agents. Arm describes the agent-ready resources as early access ahead of general release, so check the portal for current status.
Is Arm Performix free, and where does it run?
Arm states that Performix is free to download and use. It analyzes workloads running on Arm Neoverse-based Linux systems, including AWS Graviton, Microsoft Cobalt and Google Axion, and is available as a UI and CLI for Windows, macOS and Linux hosts (Arm64 and x86).
When will devices with the Mali G2-Ultra NX GPU be available?
The material Arm published for the launch does not give a device shipping date. Mali is silicon IP that chip makers integrate into their own SoCs, so availability depends on those partners. For now the Arm Neural Graphics Development Kit is the practical starting point for developers.
How does this relate to Keil MDK, Arm Development Studio and ULINK or DSTREAM-ST?
These announcements cover AI models, mobile graphics and cloud profiling. Bringing up, debugging and tracing Arm-based embedded hardware is a different job, handled by tools such as Keil MDK, Arm Development Studio and the ULINK and DSTREAM-ST debug probes. As an Arm representative in Israel, Pertech supports those tools locally.
Arm, Mali, Neoverse, Keil and Arm Create are trademarks of Arm Limited (or its subsidiaries) in the US and/or elsewhere. Qwen, Gemma, Ultralytics YOLO, Hugging Face and other names are trademarks of their respective owners. Performance figures are Arm’s own claims, taken from the Arm pages linked above; actual results may vary. Information reflects Arm’s announcements dated 8 September 2026.